
Setting up your Shopify store: A practical guide
You’ve decided that your business is going online, and you’ve started your eCommerce journey. It’s clear that you need an online store to propel your business but the task of setting up your store from scratch can be extremely daunting.
As e-commerce revenue continues to soar, a lot of people are in the same boat as you and simply don’t know where to start. You’re in luck, as ShoppingFeeder has put together a handy guide on how to build your online store using Shopify. It’s easier than you realize!
What is Shopify?
Shopify is a software subscription service that allows users to create a website and use Shopify’s unique shopping cart solution to sell, deliver, and manage their products. Shopify is the software of choice for over 600,000 businesses around the world because it has low start-up costs and a relatively easy-to-use interface. Shopify offers secure payments and shipping and is a ‘one stop shop’ for e-commerce.
Fear not if this sounds complex; we’ve got lots of Shopify tips and hacks to make this process seamless for you.
You should know that you can get Shopify at a variety of different price points – the most basic costs $9 per month, with the next iterations at $29, $79 and $299. More information here. Remember that you can ask a ShoppingFeeder expert for help if you get stuck along the way!
Step 1: Signing up for a Shopify store
This one pretty much goes without saying. Your first step is to sign up with Shopify using their website. You’ll need to input your details, including email address, password and store name (remember to use your business email). After this initial screen, you’ll need to plug in some more details, including contact information and basic details about what your shop will be selling.

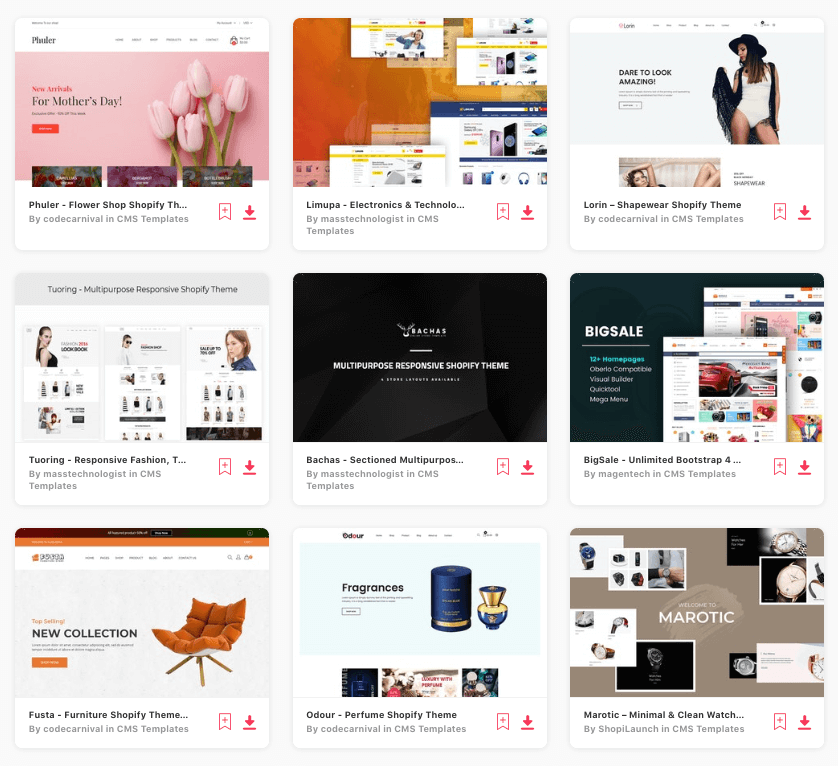
Step 2: Personalising your website with a theme
After your registration is successfully completed, you’ll be taken to your store’s admin screen. This is like a ‘control room’ for your e-commerce store. You’ve reached the exciting part, where you can customize your store, upload your items, and set up secure payments and deliveries.
At this stage, you’ll want to browse Shopify’s theme store, which includes almost 200 themes to choose from, to suit a variety of business needs. Shopify has set up an easy interface, where it’s simple to customize any theme to suit your business’ style.
Keep in mind that there are some premium themes on offer, meaning you’ll need to pay extra to access them – however, you’re also able to make changes using HTML and CSS coding.
You can filter themes by price, popularity and features, and you’ll be able to see customer reviews and live demos for each theme, which might help your decision! Themes are displayed with a comprehensive list of modifications that are available that do not require any coding, so you’ll want to watch out for these details.
Once you’ve found something you like, click the green button to install the theme. Shopify will ask for confirmation before doing so and will notify you once this installation is complete.
Following the theme installation, you’ll still need to add in your customized business content, including your logo, high quality product imagery and videos, fonts, color schemes, and anything else that you might want to show off to your customers. This is where you get to replicate your branding. Remember that visual content is important for e-commerce customers! Don’t worry, we’ll walk you through how to do this.
Tip: You can edit your theme from the left navigation menu on your admin screen.
Time-saving hack: Check out Shopify Experts
If you don’t have any coding experience, you can easily consult Shopify’s international design team, known as Shopify Experts. They’re available for hire, to ensure that your website is fully customised to your liking. The Shopify Community also has thousands of solutions to any number of questions you may have.
You can post questions or ask other Shopify users for advice and get responses within a day if your problem is common.
Step 3: Adding products to your Shopify Store
Move to the left side of your admin screen and select ‘products’. You’ll then be faced with a blue ‘Add a product’ button. Use this next screen to add as much detail as you possibly can. Remember that some of these details help with SEO, so make sure that your information is up to date. It’s good practice to include as many details as possible, as this will help customers learn more about your items.
On this page, you’ll also be able to add product pictures. If you’re looking for a quick way to tidy up your images, make sure they’re all saved using the same dimensions. You should always click ‘save product’ after each addition; this can be found in the top and bottom corners on the right side of your screen.
Your product display is easily customizable, as you’re able to group together products that have similar features that customers might look for. This might include sale items, seasonal items and limited categories of items. Shopify calls these groups ‘Collections’, and your products can appear in any number of collections.
Therefore, it would be wise to feature your collections on your homepage and navigation bar – this will let customers find your items quickly and without too much hassle.
Step 4: Adding Payments to your Shopify Store
Now that you’ve added your products and theme to your site, you’ll need to set up a functional payment gateway. This will allow you to securely receive payments on your website. Look out for different price points and commission rates, as each gateway will have a different option.
Some things to consider when selecting a gateway include transaction fees, card types and off-site checkout. Transaction fees refer to a percentage or set fee which is taken by the payment portal every time a payment is paid to you. Some of these systems may only work with set card types – Mastercard and VISA are pretty much universally accepted, while American Express and Paypal are popular options with specific payment gateways. Offsite checkout refers to payments that happen outside of your website, and may include forms and redirections to your page. This can allow for more control.
Shopify does offer its own payments in the UK and US, and payment gateway transaction fees are their own unique cost. Depending on your plan, you may be able to save these fees at discounted rates.
It’s a good idea to research all of your available options before committing to a plan that might incur hidden costs.
Step 5: Publishing your website
Now that you’ve decided on your payment gateway, you’ll want to get up and running as soon as possible. Before you can do this, you’ll need to finalize a few more details about your business. Don’t forget to include your contact information on your website, so that customers will be able to easily contact you with any problems or questions.
You should include information about Taxes, Shipping, Sales channels and Analytics. You can find all of these fields in the settings page. You’ll also be able to test your order system before going live.
Unless you receive external help, you’ll also need to figure out your domain name. You can buy one externally or if you want a fuss-free experience, why not buy from Shopify itself?

What are applications, analytics and sales channels?
Shopify has a great deal of apps that you can use to enhance your store. These are categorized, and include accounting, marketing, shipping, customer service and sales. These apps really do make a difference, so you might consider adding a couple of them to your site – they’ll simplify tasks for you and will allow for a great user experience.
Analytics are metrics which are used to track traffic to your store, and would include information about the number of visitors, how they found your store and where they’re located. This is invaluable information, which will help you plan your marketing efforts.
Sales channels are means of selling your products outside of Shopify and include Amazon, Facebook, Instagram and blogs. You can push your products on these platforms by adding a sales channel app to your Shopify store. Sometimes you may need to change your store’s settings to get this up and running. There are options to add this in your admin panel, under the ‘Sales Channel’ heading.
The cool thing about ShoppingFeeder? It’s a sales channel and analytics app, helping you push your Shopify products on multiple channels at once, offering detailed analytics reporting for performance on each channel. Reporting is even product-specific!
Conclusion
In conclusion, setting up your ecommerce store with Shopify doesn’t have to be a headache. Shopify’s interface is designed to be understandable and accessible, and they’ve posted great resources on their website which include troubleshooting common site settings. Of course, there are alternatives available out there, but Shopify is the most popular e-commerce platform for a reason, after all! If you ever face any trouble, Shopify has an amazing customer service team that is available at all hours through phone, live chat, email and Twitter. After you’ve set up your Shopify store, you’re all set to receive a myriad of bright-eyed customers, who’ll love the convenience of shopping online. In our next guide, we’ll be delving into some of the practical tips on setting up your e-commerce marketing strategy.


